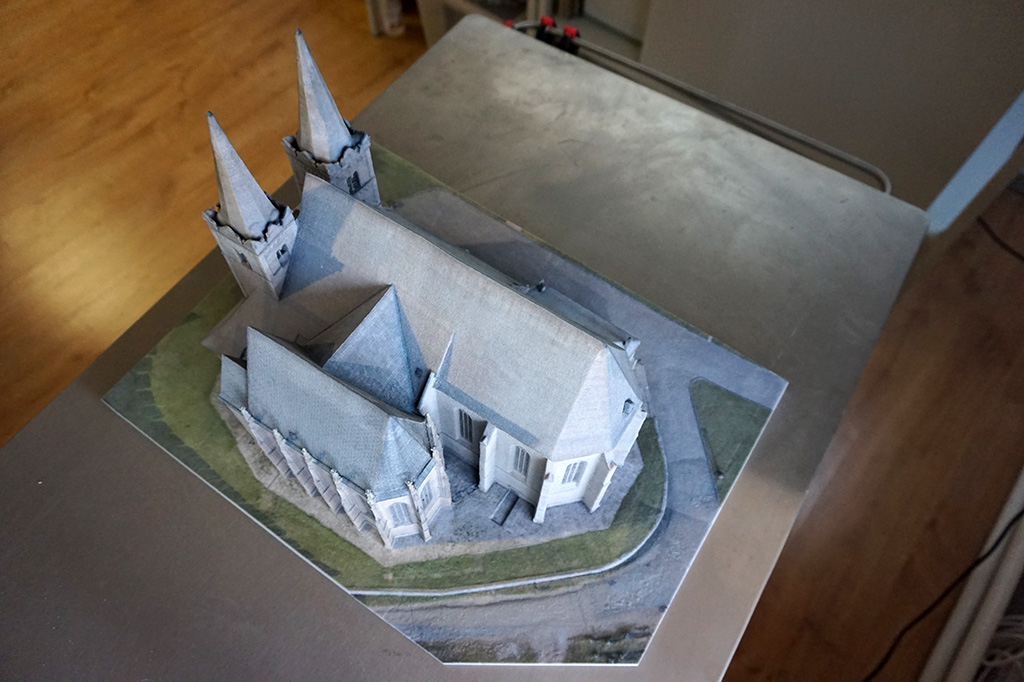
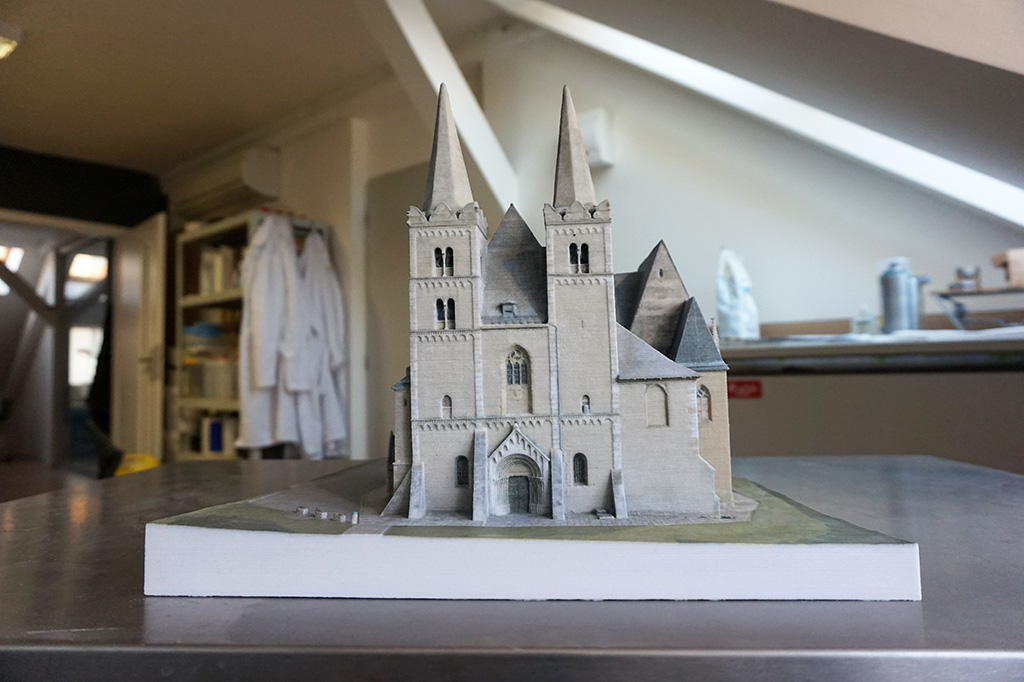
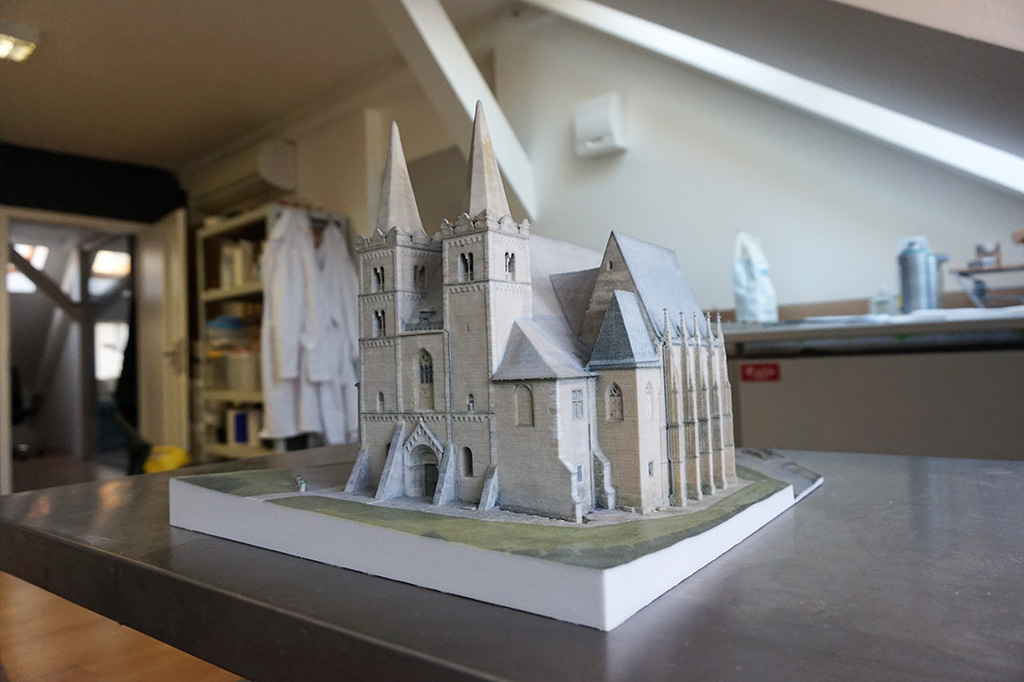
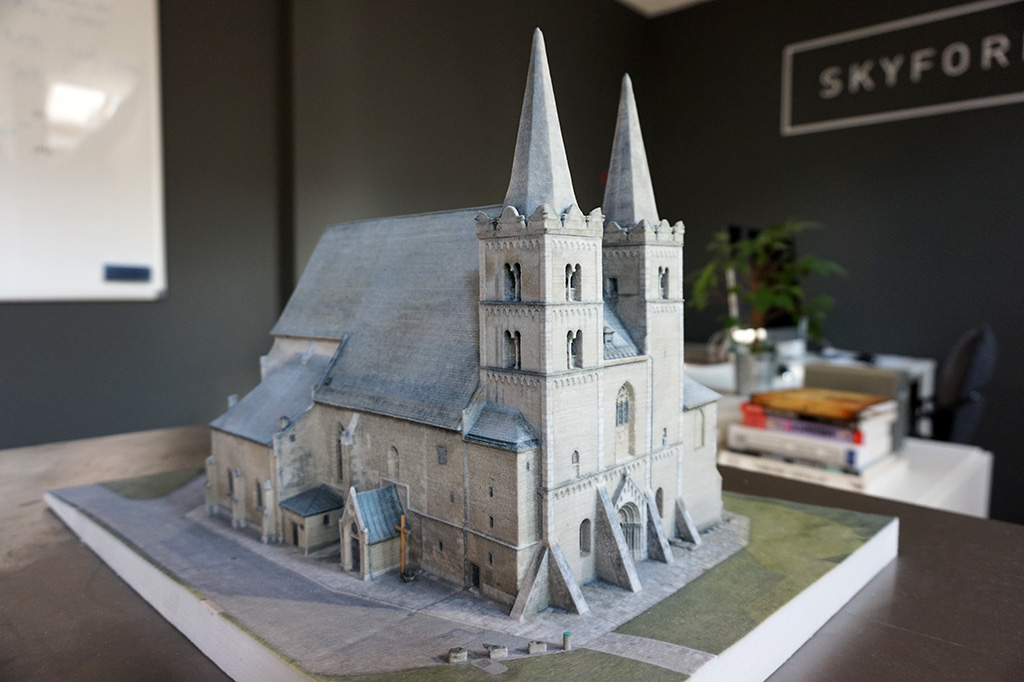
We were given a very nice 3D printed job – to create a model of a well-known Slovak monument, Spiš Chapter house.
The input digital 3D data were enormous, as it was created by very thorough professional 3D scanning devices of Studio 727. It took a long time to optimize the data for 3D printing. The most important thing was to reduce the polygons (information) to minimum without causing any significant changes to the model and so seeing any visible differences between the digital and the 3D printed model.
We printed one model in white monochrome and two in full-colour. The following steps depict the production process of the full-colour versions.
STEPS OF PRODUCTION
1. 3D model was optimized for 3D printing: 3D scanned data were thoroughly edited, polygons reduced.
2. Digital 3D model was printed in full-colour sandstone (gypsum composite).
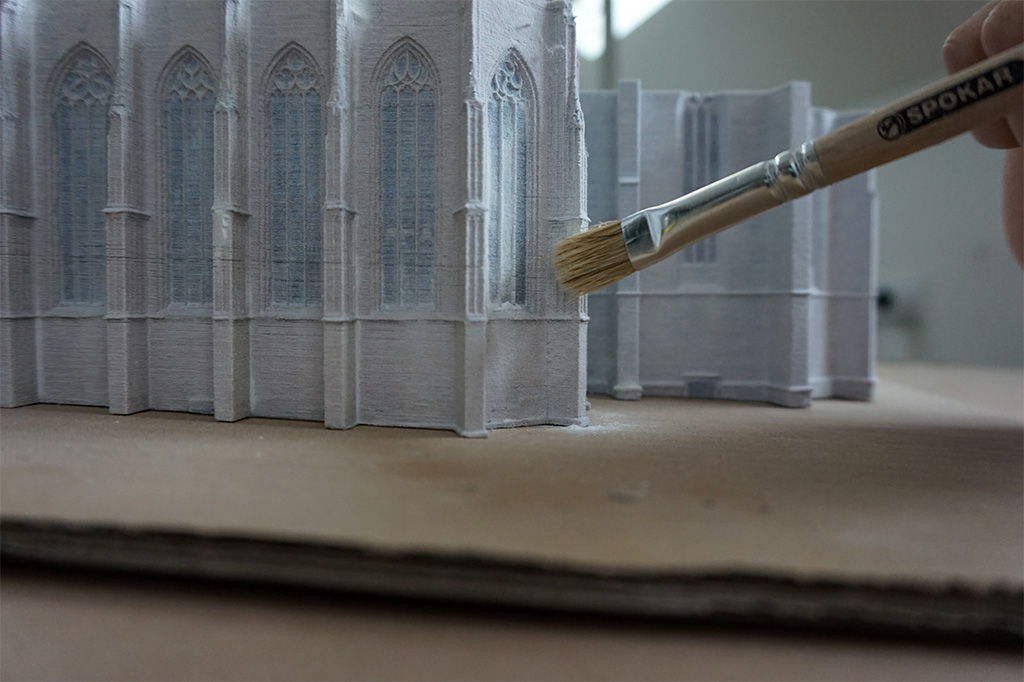
3. The printed model was depowdered and sanded to smoothen the finish.
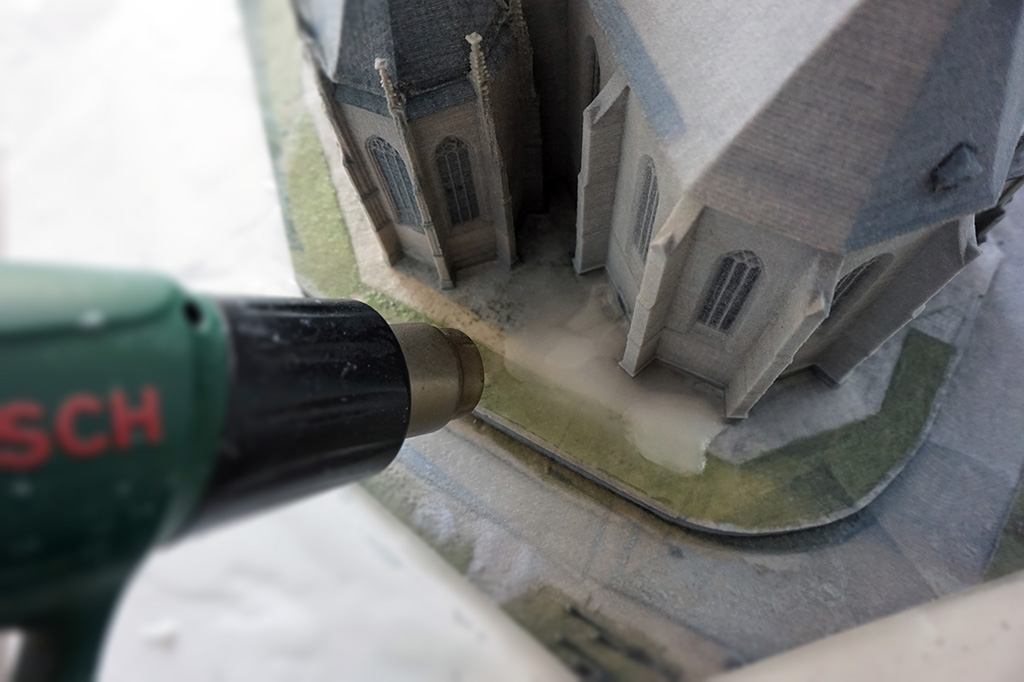
4. A few fragile details of the model were glued first to become solid.
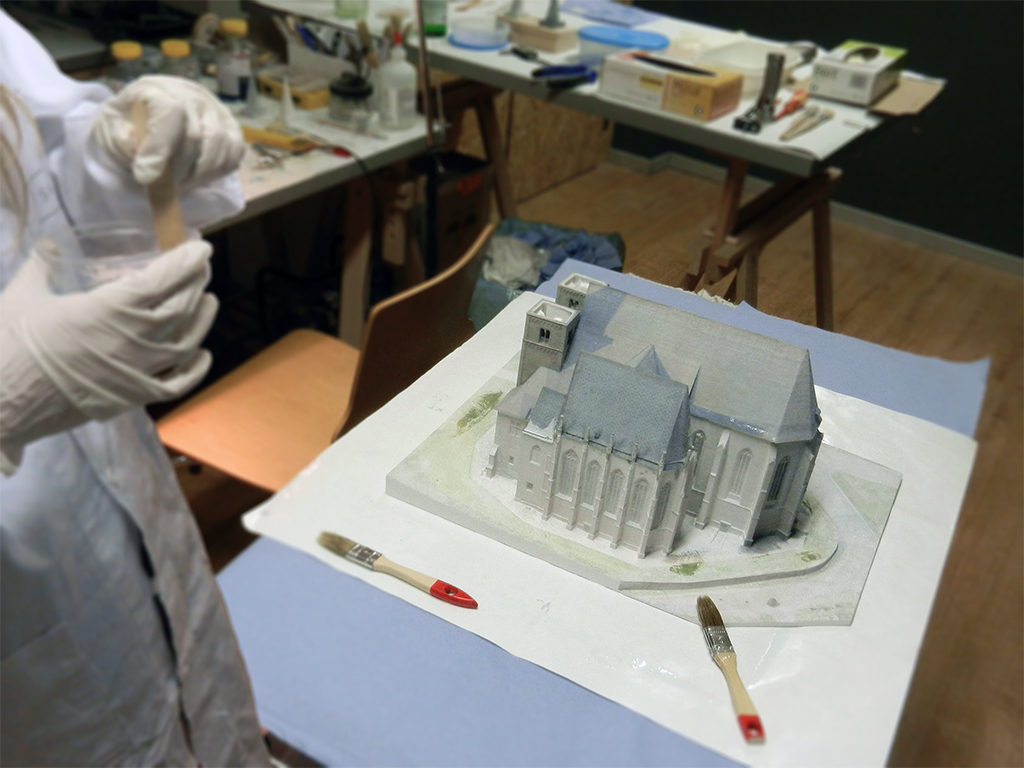
5. The whole model was then finalised with epoxy to become solid and durable.
6. Some of the details which were printed separately (towers, cross, …) were glued to the model.
7. The cured model was waxed for an even smoother finish and saturated colours.


